Creating Consignments in Bulk
From the main dashboard page, you can click on the consignments option on the top bar.
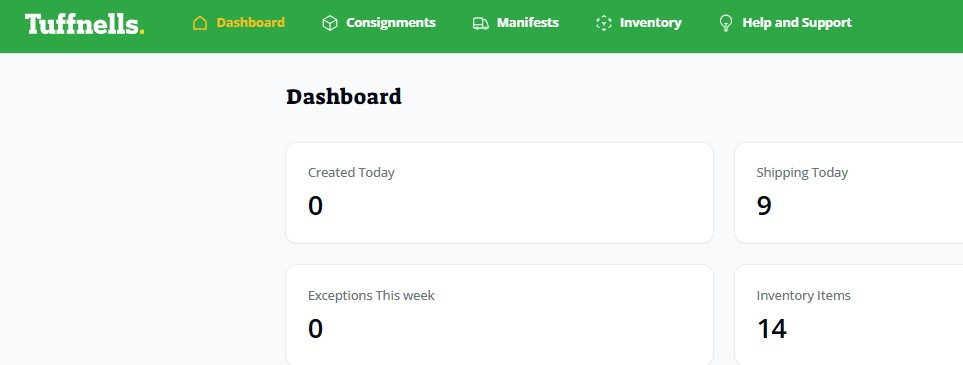
This will then show the list of existing consignments and provides the option to create or upload new ones
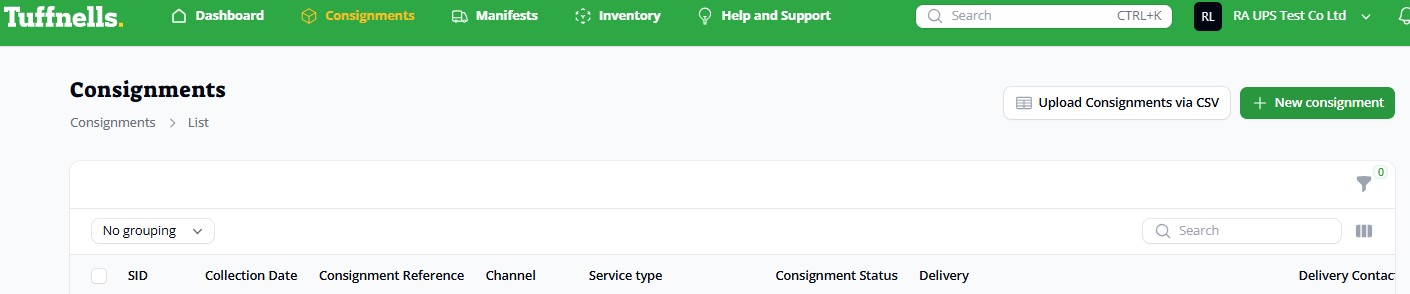
Clicking on the upload consignments via CSV button will show this popup dialog. You can download an example file by clicking on the relevant option
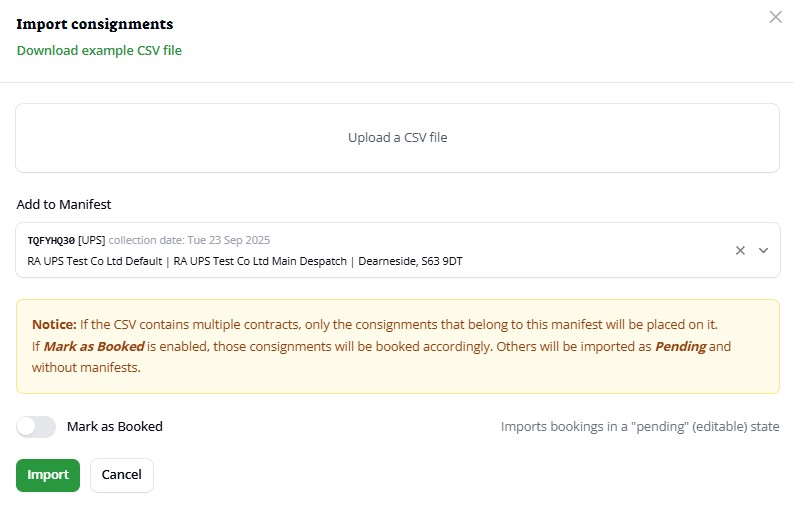
Select the required manifest via a dropdown menu or leave blank (click the X if required)

Sliding the mark as booked option to pending will allow the uploaded consignments to be edited and booked (sent to the courier) at a later time/date.
![]()
You can either click & drag your file into this space

or you can click onto it which will open a standard file dialog box to then find and select the correct file to upload.
After either dragging or selecting a file to upload, you’ll be present with the following mapping. The system will be able to automatically detect similar named column headers, or you can choose your own. Fields marked with * are mandatory. You shouldn’t need to change any mapping details if your import file is based on the downloadable example in the dashboard.

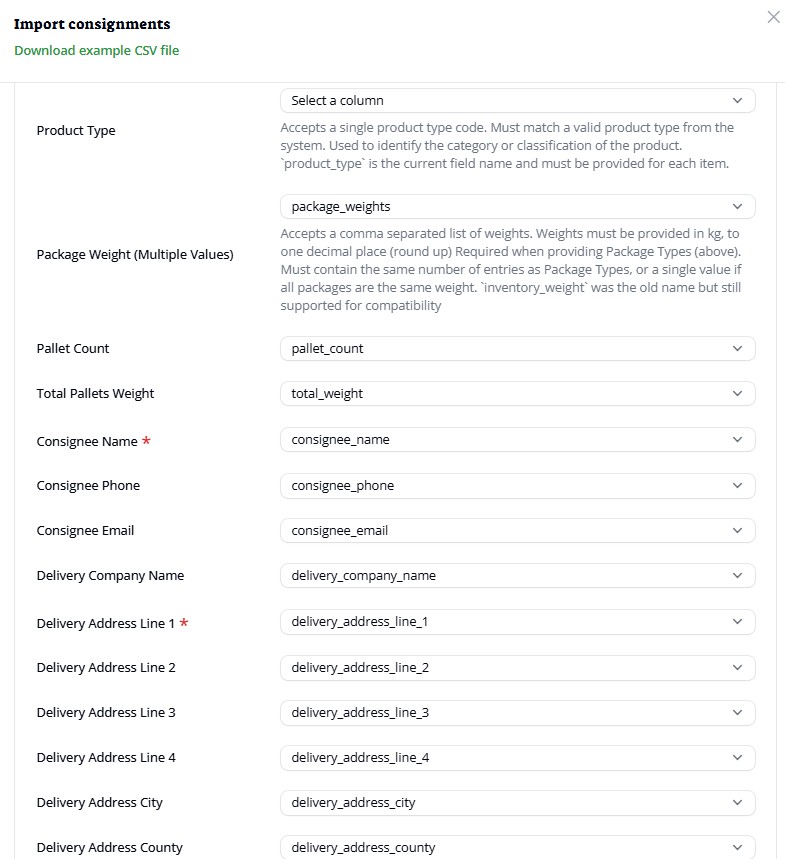
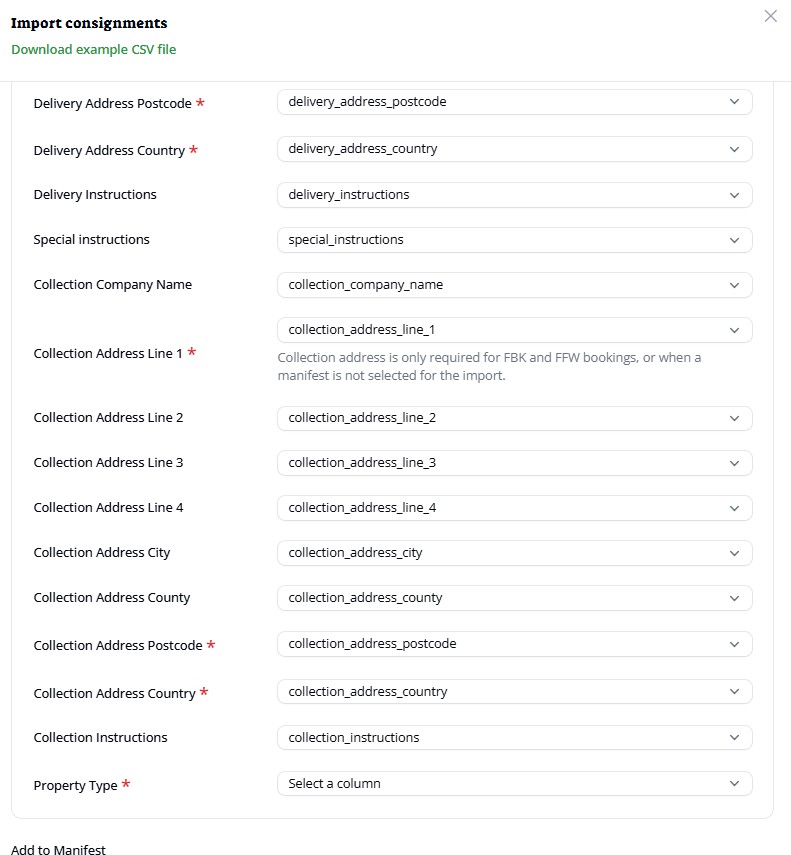
Once you’re happy that the mapping is complete, click on the import button
![]()
Following the import, you’ll see a notification badge appear in the top right corner of the page

Click on the bell and you will be able to see whether it was successfully imported, partially imported or failed completely. For complete or partial failures, you can click the download information about the failed row to be able to be amended and uploaded using the above process.
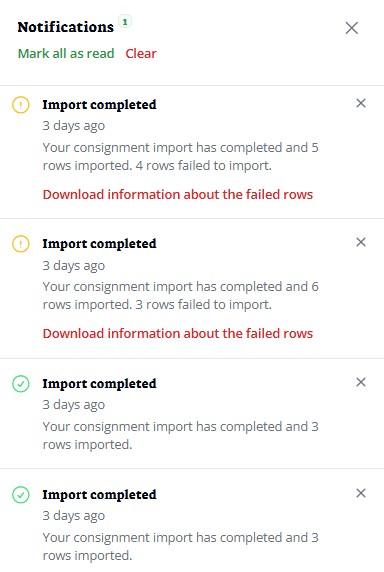
For partially failed imports, please amend the downloaded error file and upload that. Never re-upload the original as it will duplicate the previously successful consignments within that CSV
The original CSV (if fixed as per the downloaded error details) for completely failed import attempts can be reuploaded as there will be no chance of duplication
CSVs uploaded as pending will be editable after import, but no labels will be generated until they have been marked as booked. This can be done later
CSVs uploaded as booked will automatically have their labels generated. However, these consignments will not be able to be edited.
Optional: If you’ve imported consignments as pending, then once you are happy with the details you can mark them as booked to obtain the labels. This is done via the update state button and will need to be done for each consignment.
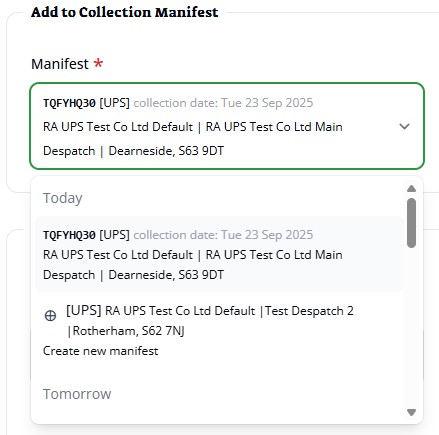
When bookings are ready to be collected by the carrier, you’ll need to select each required consignment and then using the bulk actions menu option choose add to manifest.
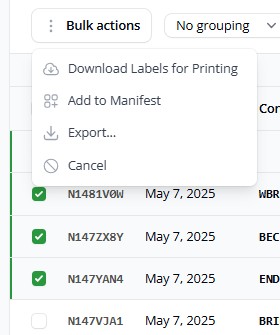
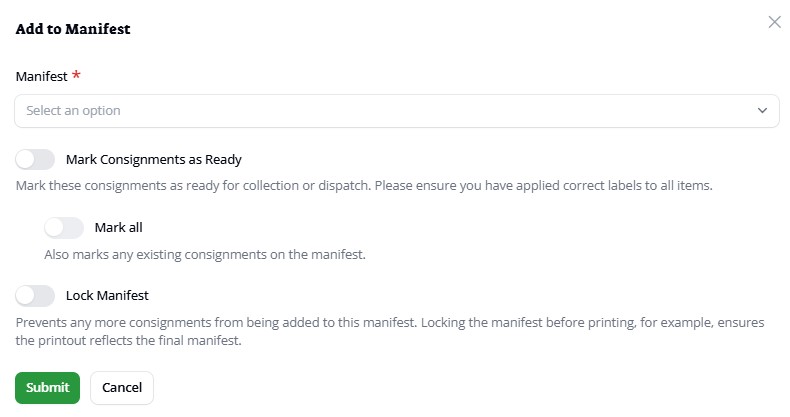
From here you can mark these consignments as ready for pickup and if required add to a new manifest.
Optionally you can also make any other consignments already on that manifest ready for pickup too. The option to lock manifest will prevent any further uploads or manually created consignments from being added to it. This action cannot be undone.
Once booked, consignments cannot be returned to a pending or editable state,
Cancellation cannot be reversed. If a cancelled Consignment is required after all, it must be recreated again.
Consignments can have their status individually changed by clicking on the update state button at the end of the row

Consignments can’t be manually added to a manifest unless they’re in a pending state. Please select 1 (or more) and use the bulk action option as above instead.
If consignments are still pending, then you can edit the consignment by click on it or using the edit option at the end of the row. This will bring up all consignment details where the manifest can be updated here
Printing Labels
To print out your labels, navigate to the Consignment view page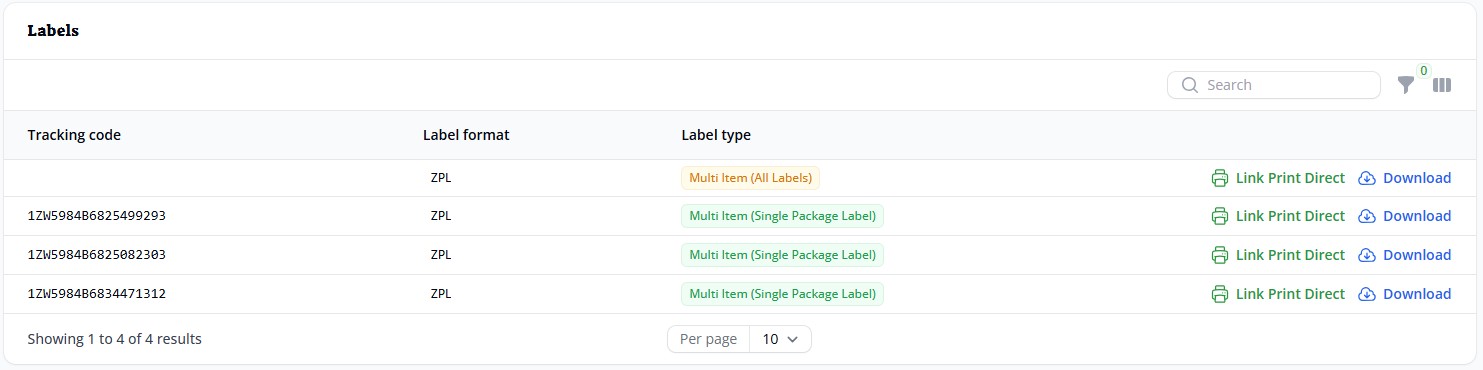
You can see all packages that have a label generated, and the download option against the entire consignment (all labels)
Quick import guide
Import consignments
- Upload CSV (ensuring all required fields are mapped)
- Choose optional manifest date or leave blank if the despatch date for any consignments being imported is unknown.
- Choose booked or pending state (pending can still be edited/amended after import)
- Click Import
- All booked consignment data will be sent to the carrier and labels will be generated
- Download, print & attach labels to packages
- When consignments are ready for collection
- Select all that are being despatched on the required manifest date (filters can be used to show only booked consignments and specific dates – see view consignments guide for further details)
- Use bulk actions option to add to manifest and mark consignments as ready
- Optionally select mark all if there are other booked consignments already on that manifest that are all going out that day and need to be marked as ready
- Optionally lock manifest if nothing else is going to be sent on that manifest (cannot be undone)
- Click submit