Inventory Management
Inventory items (products) can be managed within the dashboard. At present, new items need to be manually input into the inventory. In the future, a CSV bulk upload option should be available.
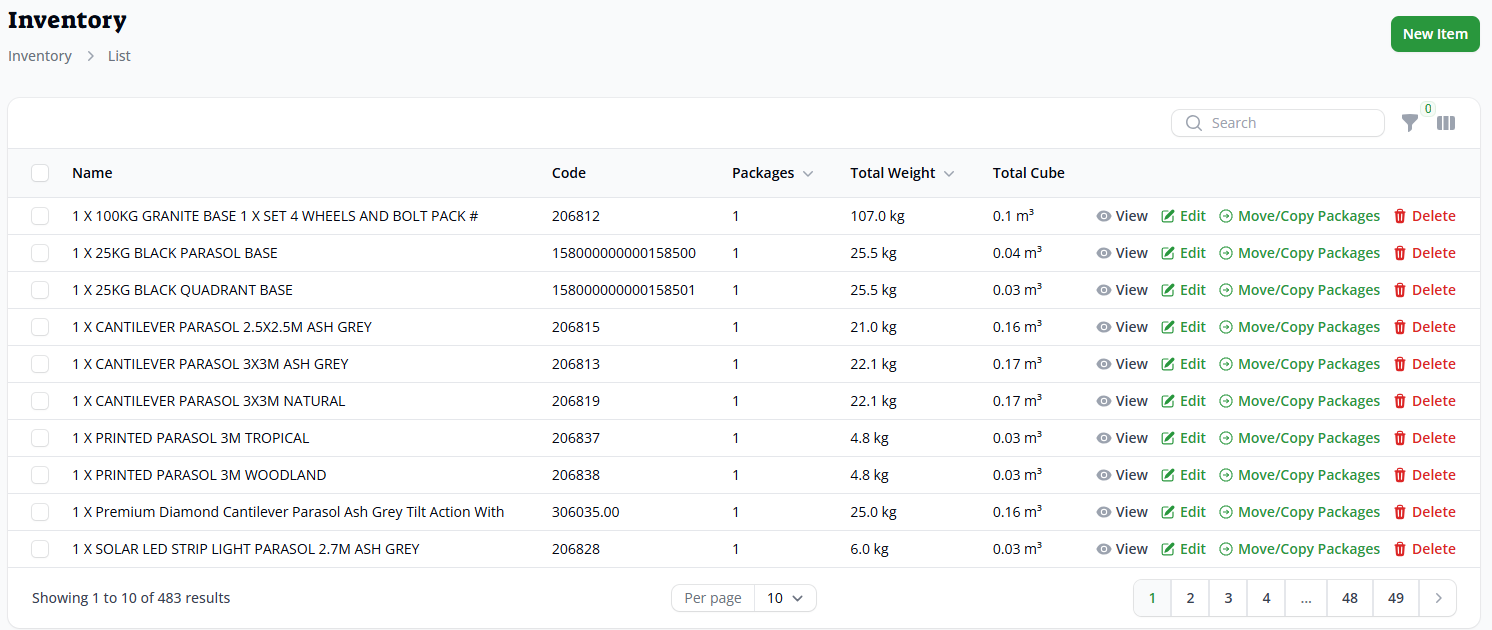
Click on the Inventory option from the top bar

This will then show any existing items and the option to create new ones
Creating a new item
Clicking on New Item will open the create page.
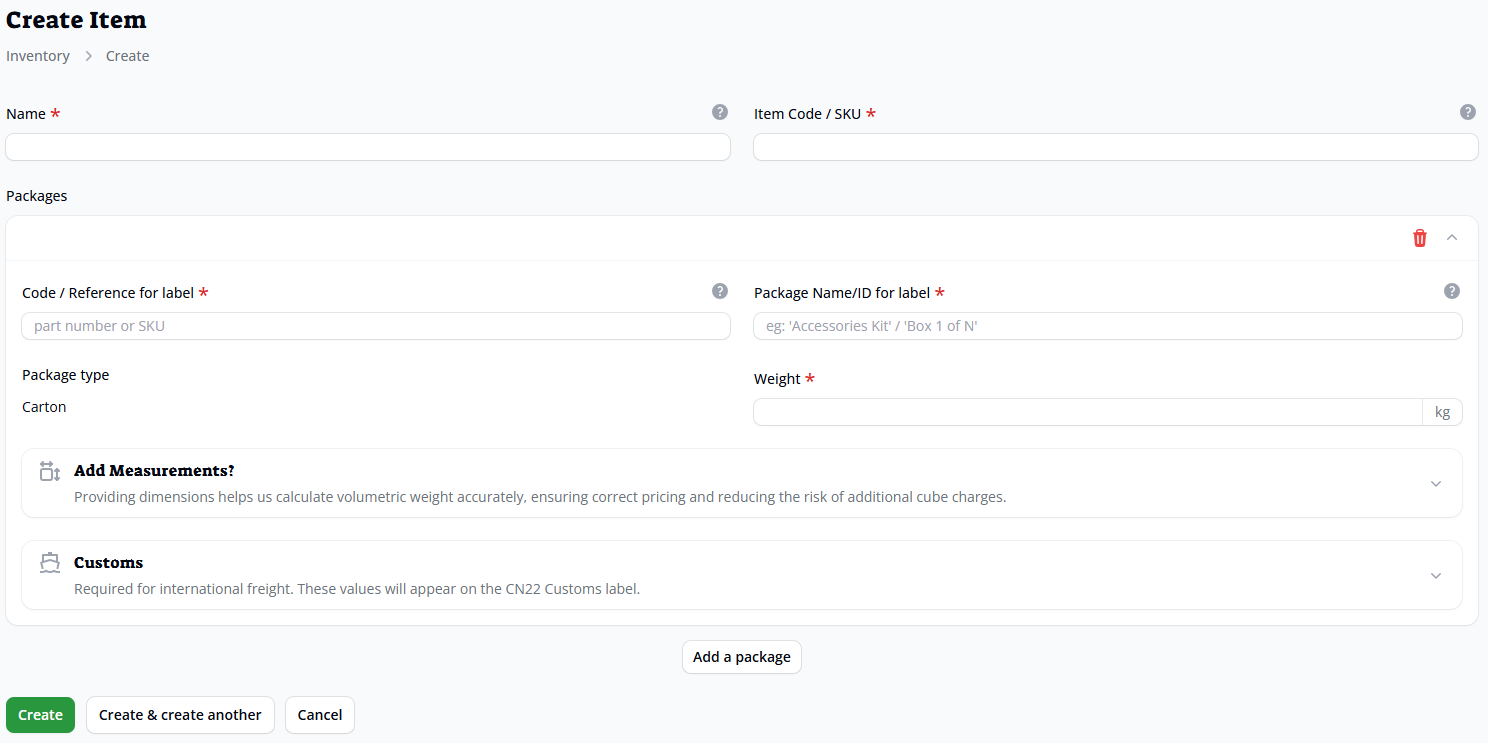
You will need to provide the following information
• Name – name of the product (or set of products if multiple packages are created)
• Item Code / SKU – a product code that matches the information provided in the consignment CSV upload for the package/group of packages
• Package details (multiple packages can be created for an inventory item)
o Code / Reference for label (package code - visible on label)
o Name for searching (package name - visible on label)
o Weight (package weight - visible on label)
o Dimensions in centimetres (volume will be generated automatically)
Length
Width
Height
o Optional Customs details for overseas consignments (including Northern Ireland)
• Click add a package to add further packages to the inventory item
• Click create (or create & create another if required)
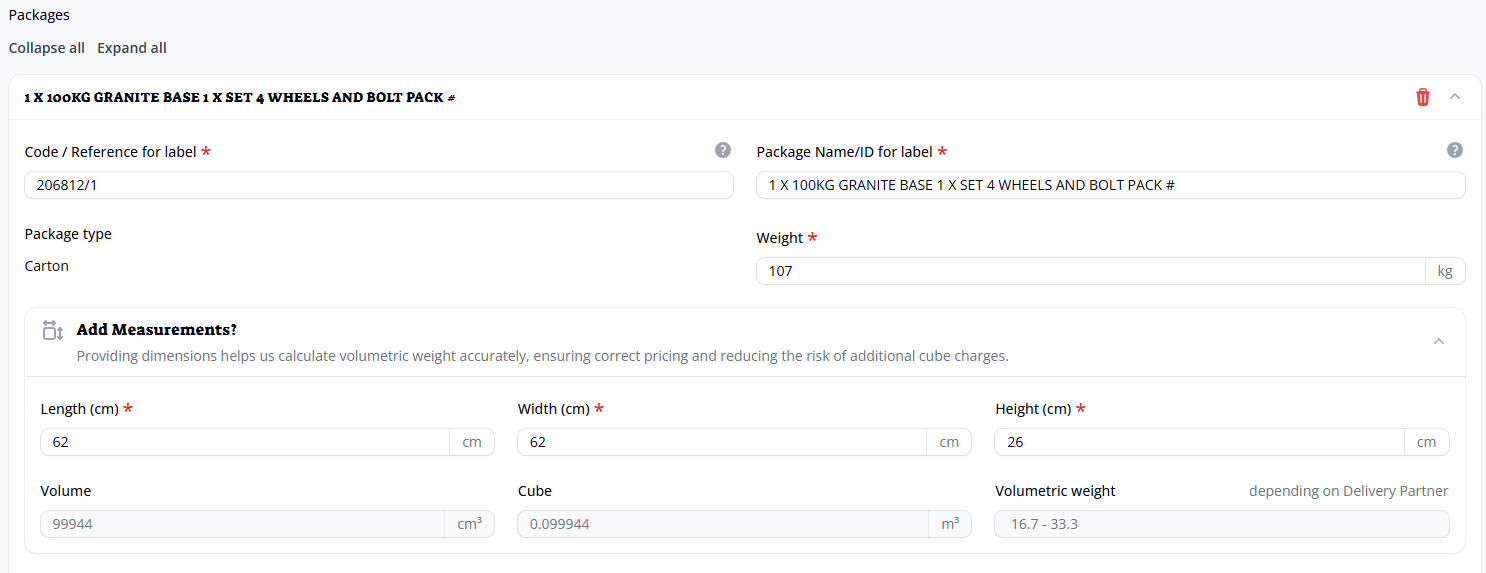
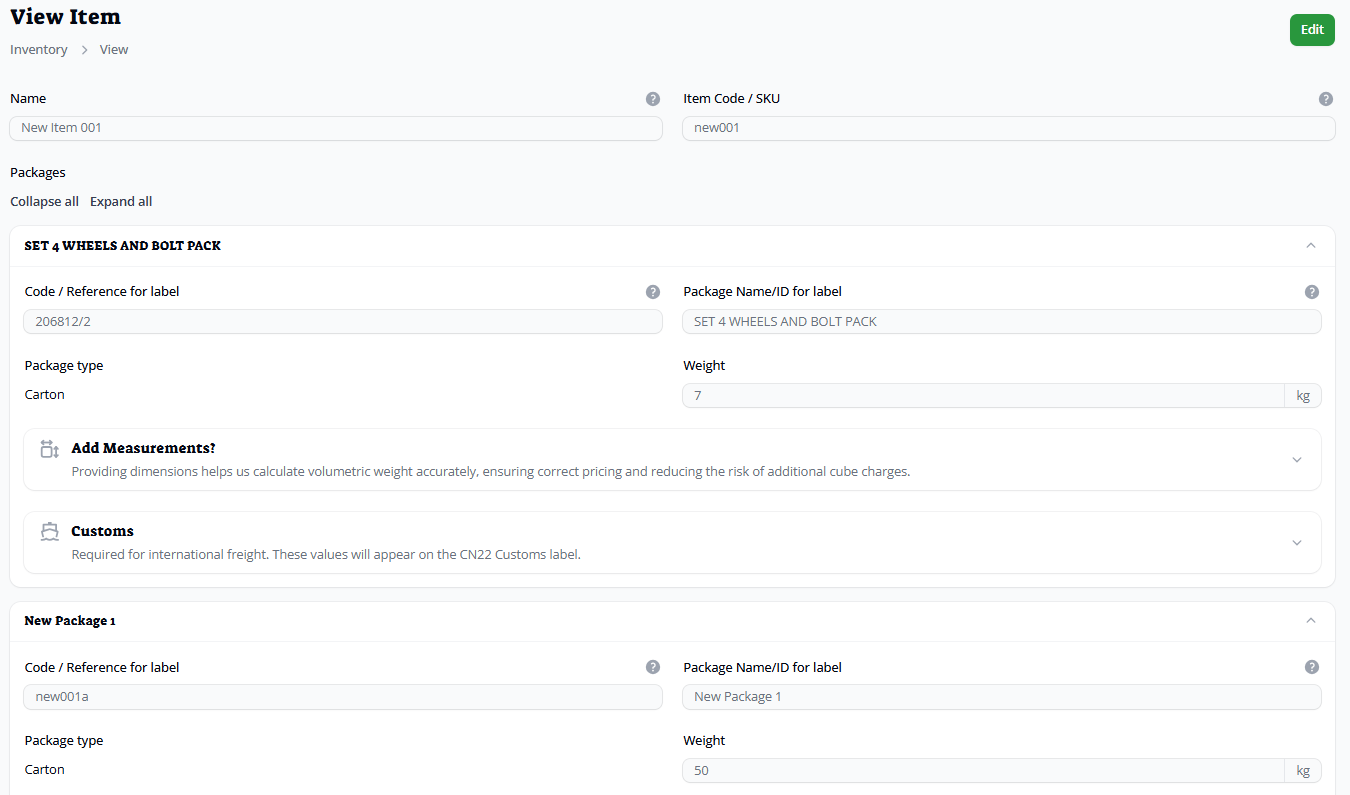
Example 1 – 107Kg item set containing a 100Kg granite base and a 7Kg pack with 4 wheels and bolts
Product (product set) name and code/SKU (as per consignment CSV upload)

Individual packages – 1 package for the base (code can be different to the product SKU)
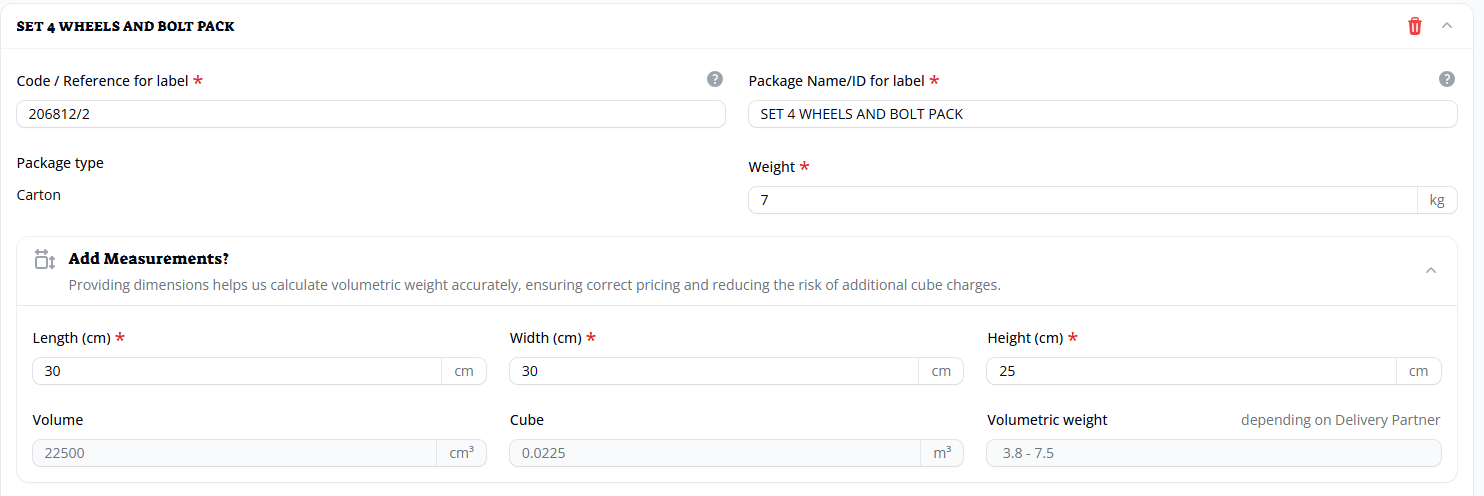
A 2nd package for the wheels/bolts (code can be different to the product SKU)
Example 2 – Single package item
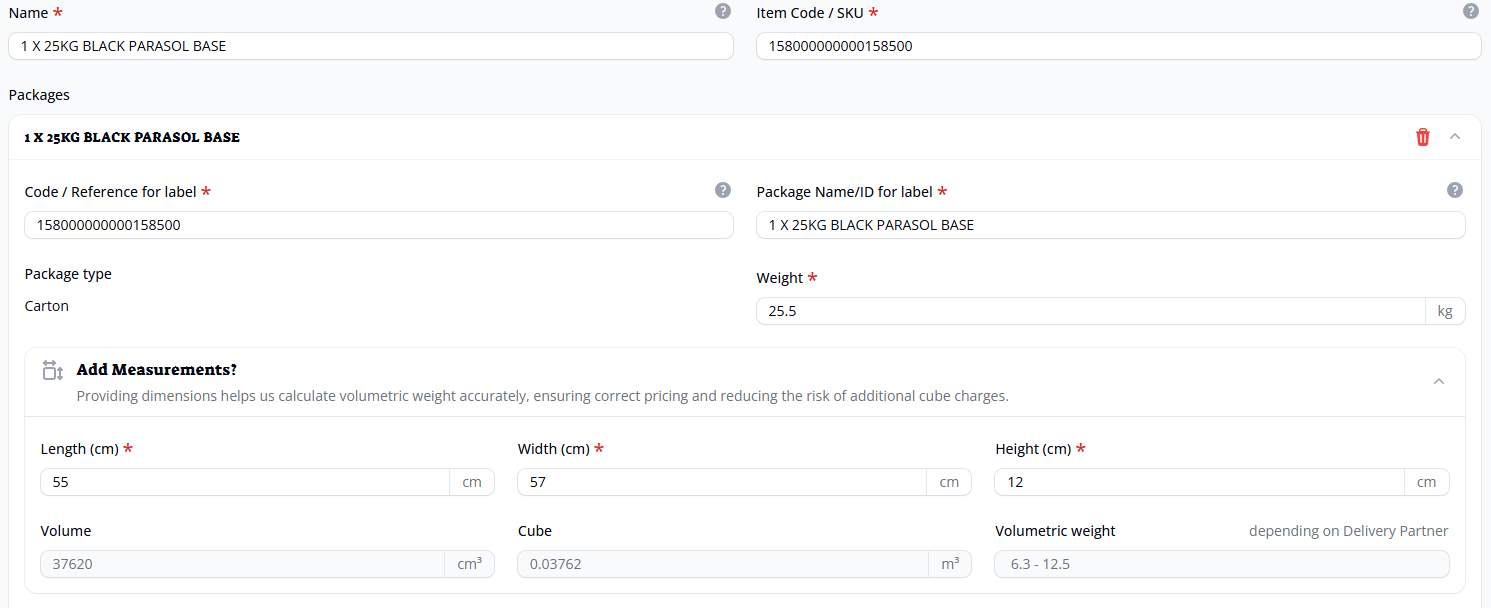
On single package items, the package code/Reference for label should be the same as the main item code/SKU.
When items or item sets have been selected via either manual consignment creation, or via CSV upload, the individual package details are displayed within the consignment details and on the labels.
Customer products that contain more than packages need to be created using the multi-package method. This then produces accurate labels with correct package weights. Based on the example on the previous page, having 2 labels & separating the product in the consignment details, 1 for 100Kg and 1 for 7Kg will be more accurate than having 1 label for 107Kg.
Editing items
Existing inventory items can be edited by choosing the edit option from either the list view, or from viewing the item itself. Packages can be amended, added or removed (by clicking the bin icon against the package to be removed).
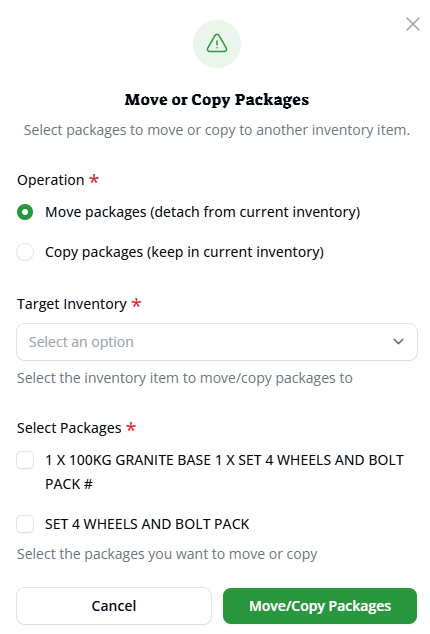
Individual packages can also be copied (leaves the original in place) or moved (removes the original) between items from the inventory list screen. This is particularly useful where 1 product has been updated to include features from another one. If items need to be moved/copied into a new one, then please create and save the new item (as above as a single package item) first
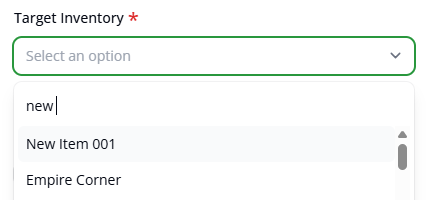
To move or copy a package click on Move/Copy Packages against the one you wish to action. Click either the move option or the copy option, choose the target inventory & select which package you wish to use. Finally, click the move/copy packages button.
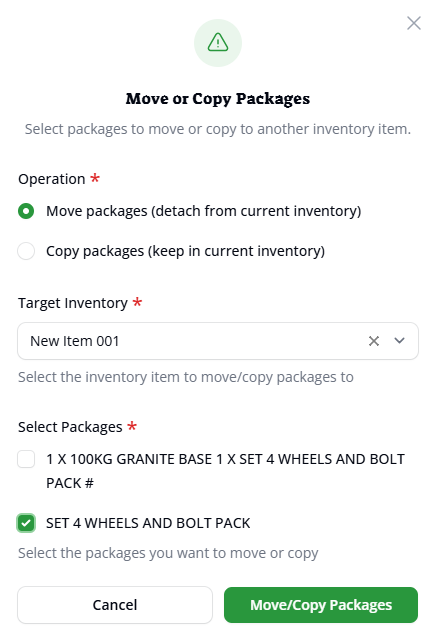
The new item now shows 2 packages and the combined weight of each of the individual ones

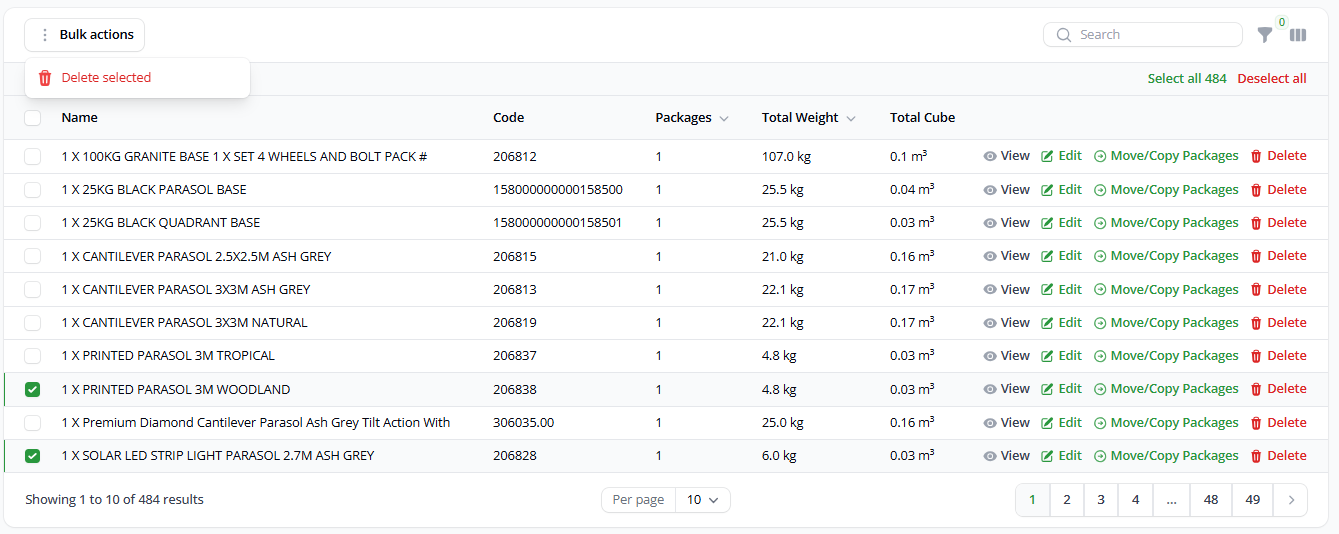
Deleting items
To delete an item, first select 1 or more items that you wish to delete from the inventory list, and then using the bulk actions menu, delete selected
When consignments are created with inventory items, it uses a copy of the current details. This means that deleting or amending items that have already been used can be safely deleted or amended without affecting the existing consignment.
Please note that using existing inventory items isn’t a requirement for consignment creation.
• Import CSVs can use generic item codes rather than inventory codes; CAR (Carton), LEN (Length), PAL (Pallet). These are, however, not as accurate due to dimensions not being required. This could result in RPO cubing etc.
• Consignments manually created directly in the portal can have ad hoc details entered rather than selecting from the product catalogue
Further details on this can be found in the relevant guides