Creating a Consignment
Overview
There are 2 ways to create new consignments. The first is manually inputting all details and the second is via a CSV import file. In this guide we will concentrate on the manual input method.
Please see separate guide for the CSV (Bulk) option.
Create a consignment
To start creating a consignment, click on the New Consignment button on the main Dashboard page, or via the Consignments page

You will then be presented with the following screen.
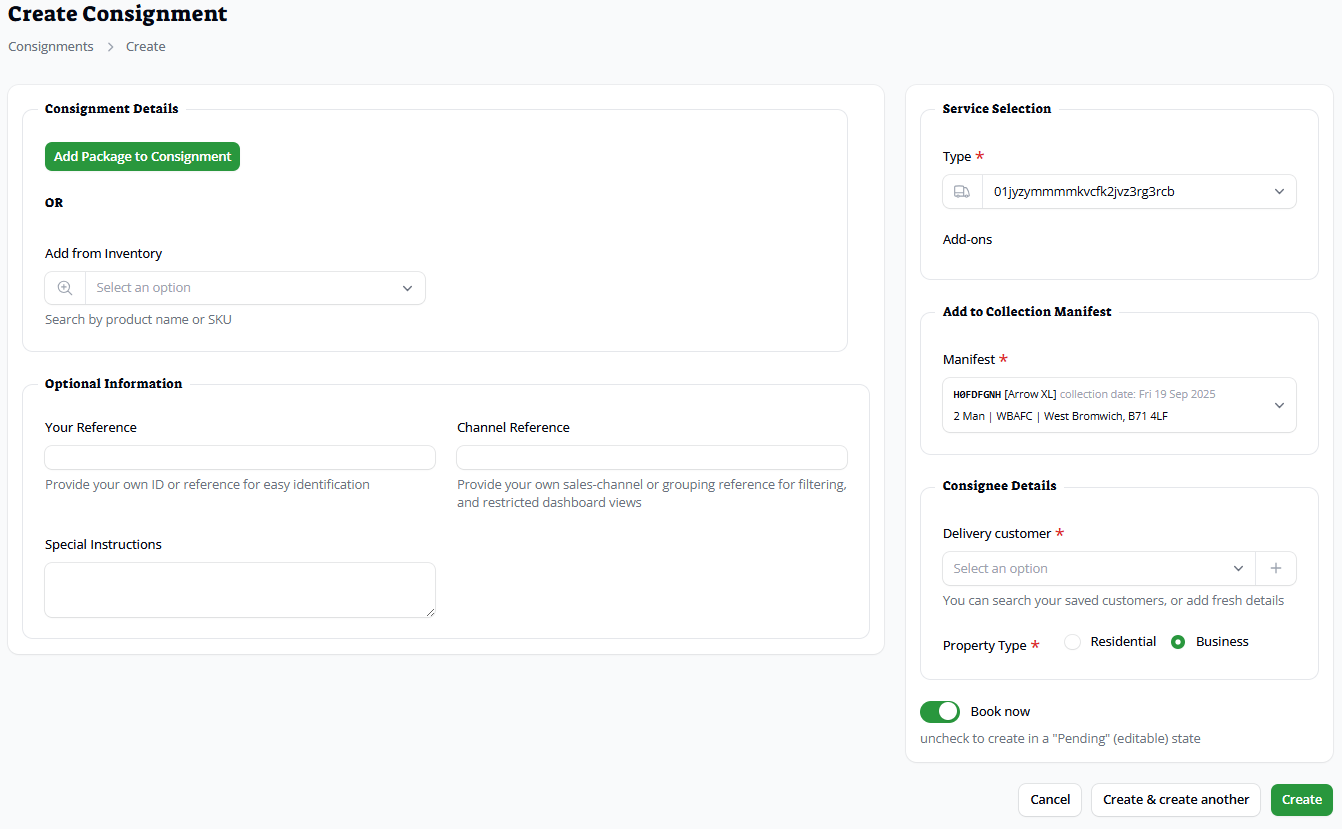
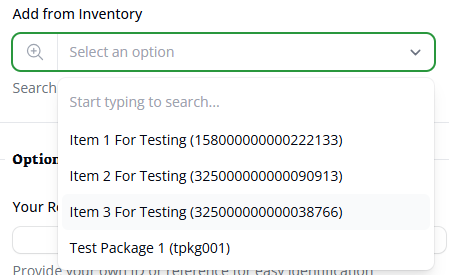
If you have uploaded details about your prodcuts to your inventory, then you will be able to select pre-created consignments from the searchable drop-down list. See inventory guide for further details.
Otherwise click on the Add Package to Consignment button above the catalogue list. Please note, not all carriers will show the product group and type option at the bottom.
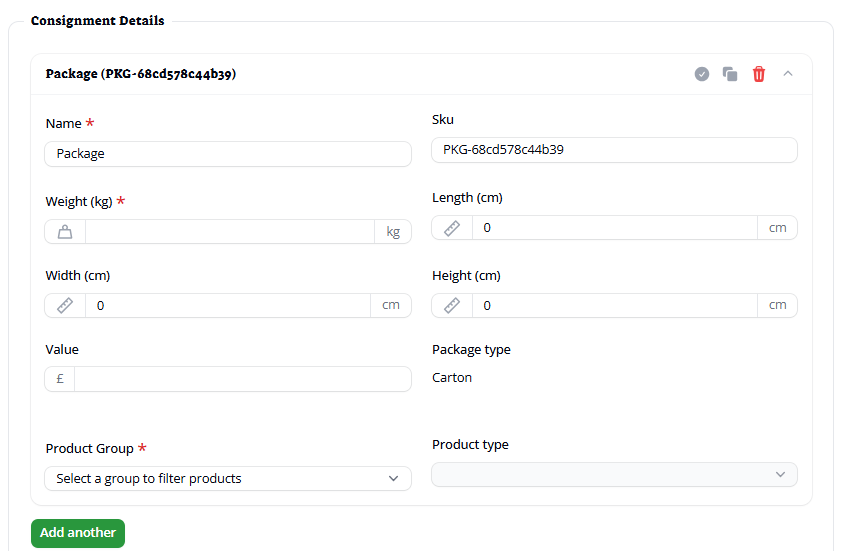
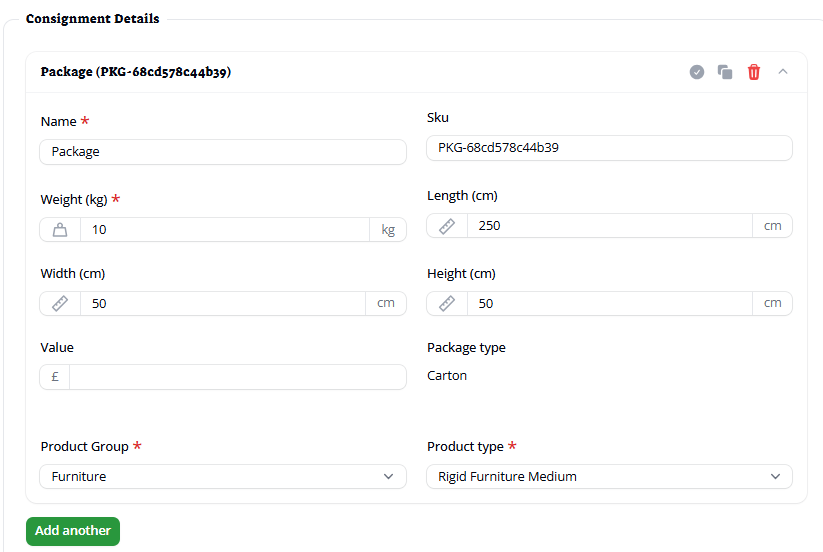
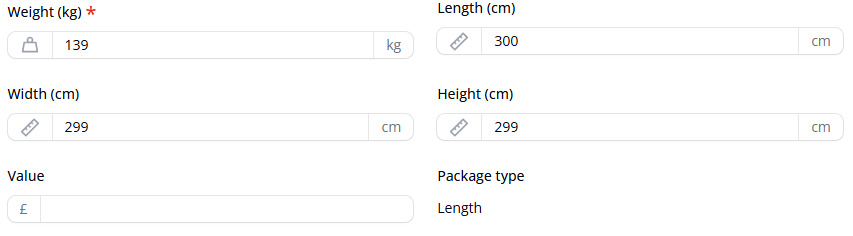
Each package that you enter must have a weight added. The system will default to using the Name “package”; however, you can amend that to be more specific if required. Likewise, the SKU is created with a default value which can be amended if required. Value is also optional.
If you need to add extra packages to your consignment, click the Add another button to add more packages or click the duplicate package button.
Dimensions are optional but may lead to “out of gauge” charges being added to the invoice if they haven’t been entered.
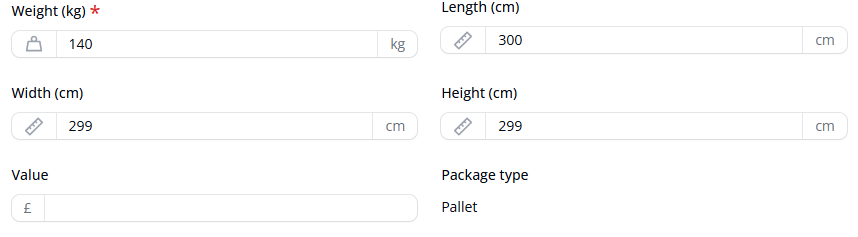
The package type is automatically generated from the specified dimensions. If all sides are equal to or under 299cm, then it will show as a Carton. However, if any one or more of the sides are equal to or over 300cm, then it will show as a Length. Anything with a weight of equal to or above 150Kg will show as a pallet irrespective of the dimensions.

You are able to mix and match catalogue packages with manually added packages if required.
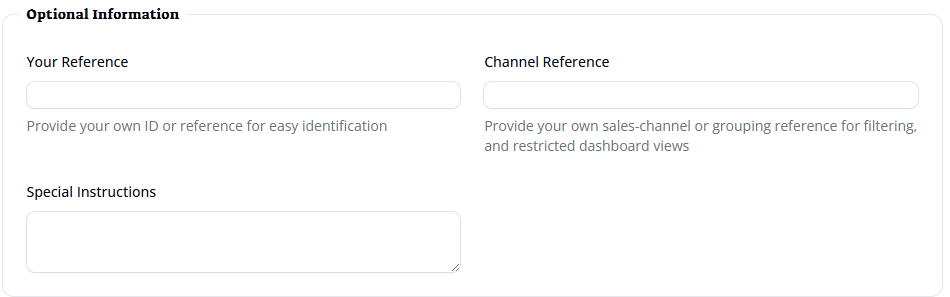
Further (optional) consignment information can be added:
- Your Reference – a searchable reference (doesn’t need to be unique to this consignment). This could be your customer order number
- Channel Reference – this is useful if you wish to tie a particular user (usually a read-only one) to a specific “channel”. This could be a specific despatch site or order line etc. Further details can be found in the user management guide
- Special Instructions – Extra information that can be added to the consignment details. Extra references, opening times or product details. Please note that not all couriers will display this information on the package labels
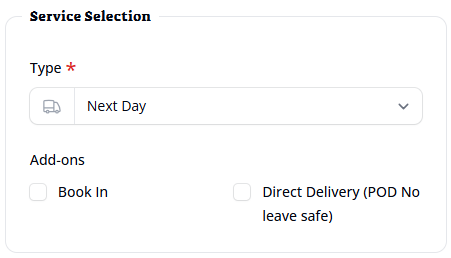
Service Selection details – The service Type will show all available services provided by your specific courier(s). This field is mandatory. You can also select the optional service Add-ons. Please note that addons may incur extra charges and not all couriers will utilise each one.
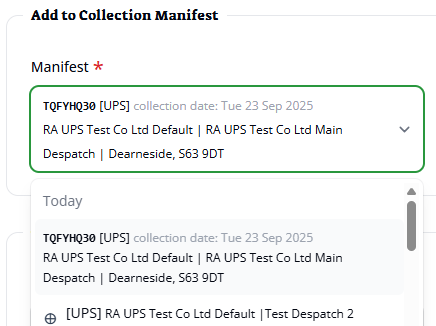
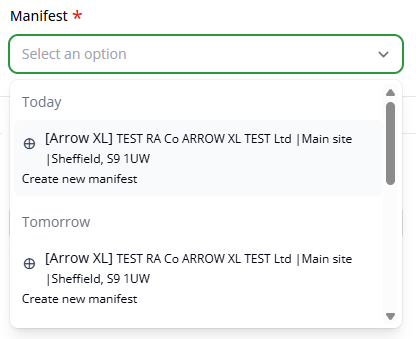
Add to Collection Manifest – Choose your collection date from the drop-down menu. You can either add to an existing manifest or create a new one. A manifest for “today” must be created via the Manifests page. For further information, please see the collections manifests guide.
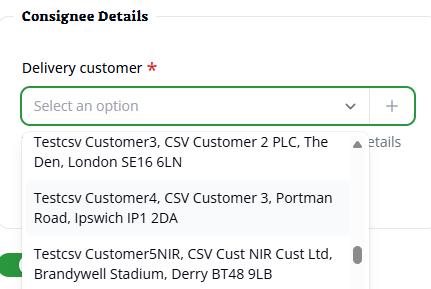
Consignee Details – add your customers’ delivery contact and address details. Click on the drop-down menu to access details from your saved address book or click the icon to create a new one
New contact form. All fields marked with a * are mandatory.
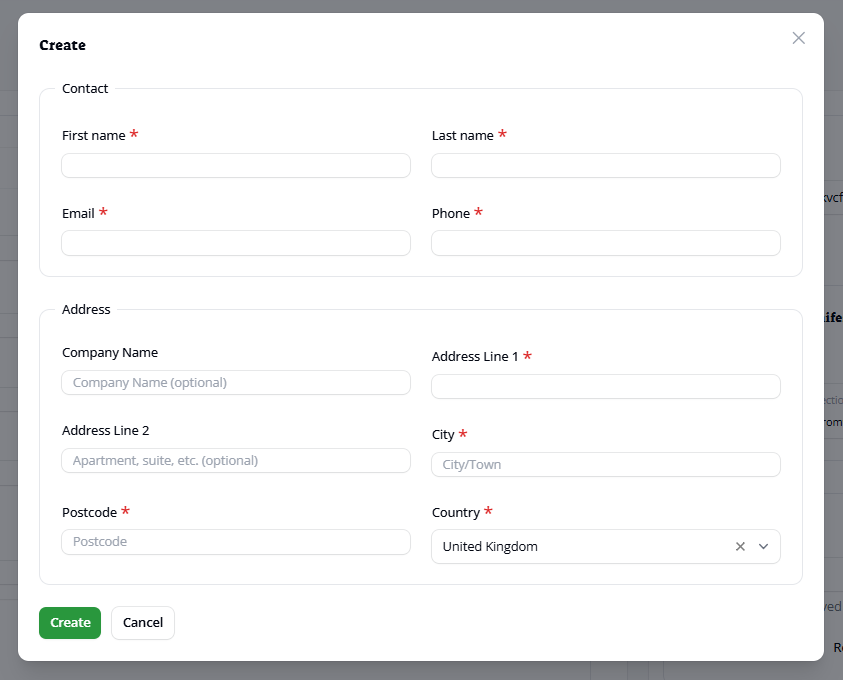
When all details have been entered, please click Create to add these new details to the consignment
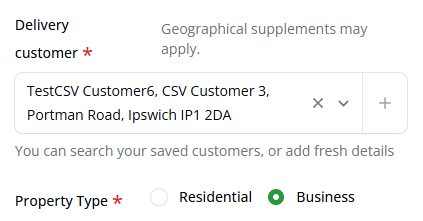
Choose the property type (residential or business). The system will remember you choice for the next time you send to that customer.
Once you have created the consignment, this will also add the new customer to your customer address database. See end of this guide for further details on customer address management.
Book now – This toggle will set the created consignment to either Booked or Pending. Pending consignments can still be edited before the information has been sent to the courier. Once a consignment has been set to Booked, the details will be sent to the courier, labels will be produced but it can no longer be amended.
Click Create or Create & create another to proceed.
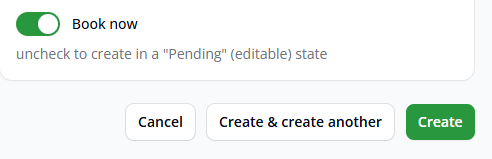
The Create button will then show the “view” page for that consignment, whereas Create & create another will give you a new blank form.
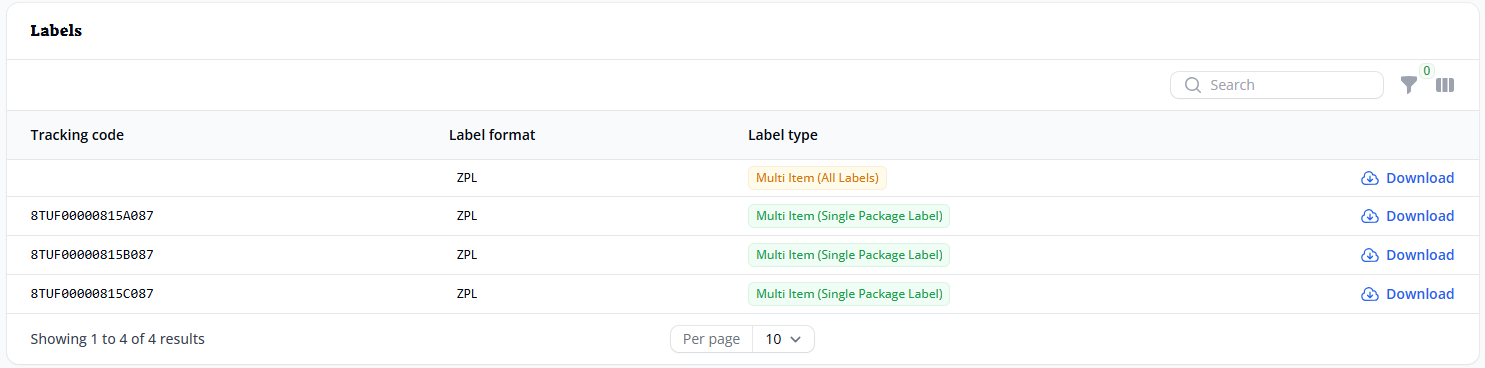
If you have the automatic label printing option configured, then once your consignment has been successfully booked, the labels will print out of the configured printer (ZPL thermal label printer required).
If you use the manual label printing option, you can click on either the “single item” or “multi item” link when viewing the booked consignment to print either the entire consignment or individual package(s)
From the consignments list page, you can view or edit existing consignments. Only pending consignments can be edited.
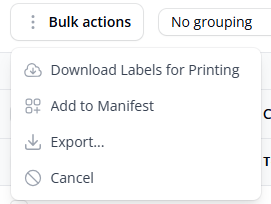
When bookings are ready to be collected by the carrier, you’ll need to select each required consignment and then using the bulk actions menu option choose add to manifest.
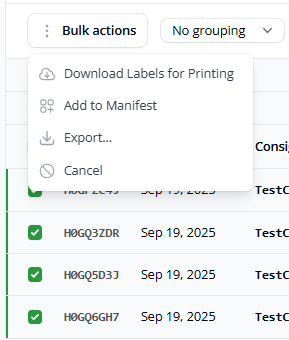
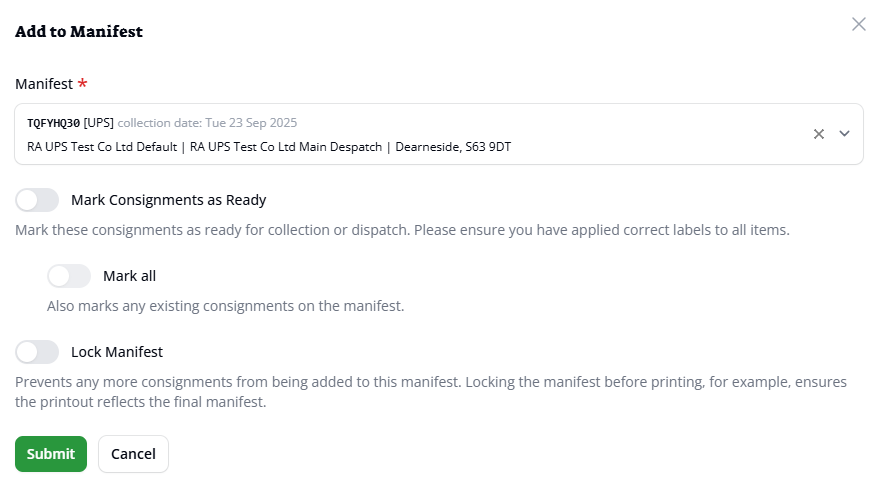
From here you can mark these consignments as ready for pickup and if required add to a new manifest.
Optionally you can also make any other consignments already on that manifest ready for pickup too. The option to lock manifest will prevent any further CSV uploads or manually created consignments from being added to it. This action cannot be undone.
Printing or reprinting labels can also be done via this consignment list page. Select all required consignments, and on the Bulk actions menu choose Download Labels for Printing
You’ll then be presented with the following options
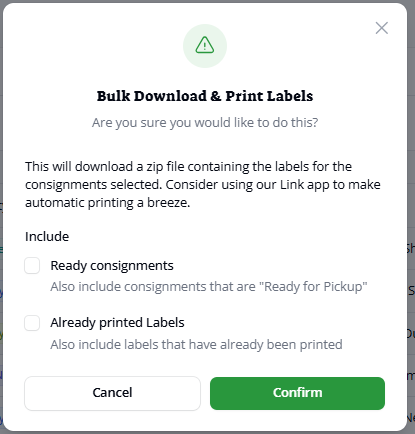
Tick the Ready consignments if the ones you require are ready to collect rather than booked. And if you’re reprinting, then also tick the Already printed Labels option and then confirm.
If you’ve selected any pending or cancelled consignments, these will not be printed.
Consignments cannot be “un-booked”, they can only be made ready for pickup or cancelled.
Cancelling cannot be undone. Any bookings with a status of cancelled that are still required, will need to be re-input (either manually or via CSV upload)
Consignments can have their status individually changed by clicking on the update state button at the end of the row

Consignments can’t be manually added to a manifest unless they’re in a pending state. Please select 1 (or more) and use the bulk action option as above instead.
If consignments are still pending, then you can edit the consignment by click on it or using the edit option at the end of the row. This will bring up all consignment details where the manifest can be updated here
Customer address management
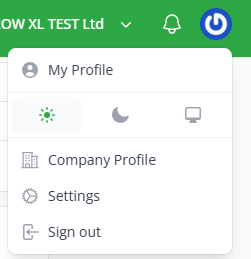
This can be performed outside of the consignment entry screens. Click on the icon in the top right of the screen and choose Settings and then Customers
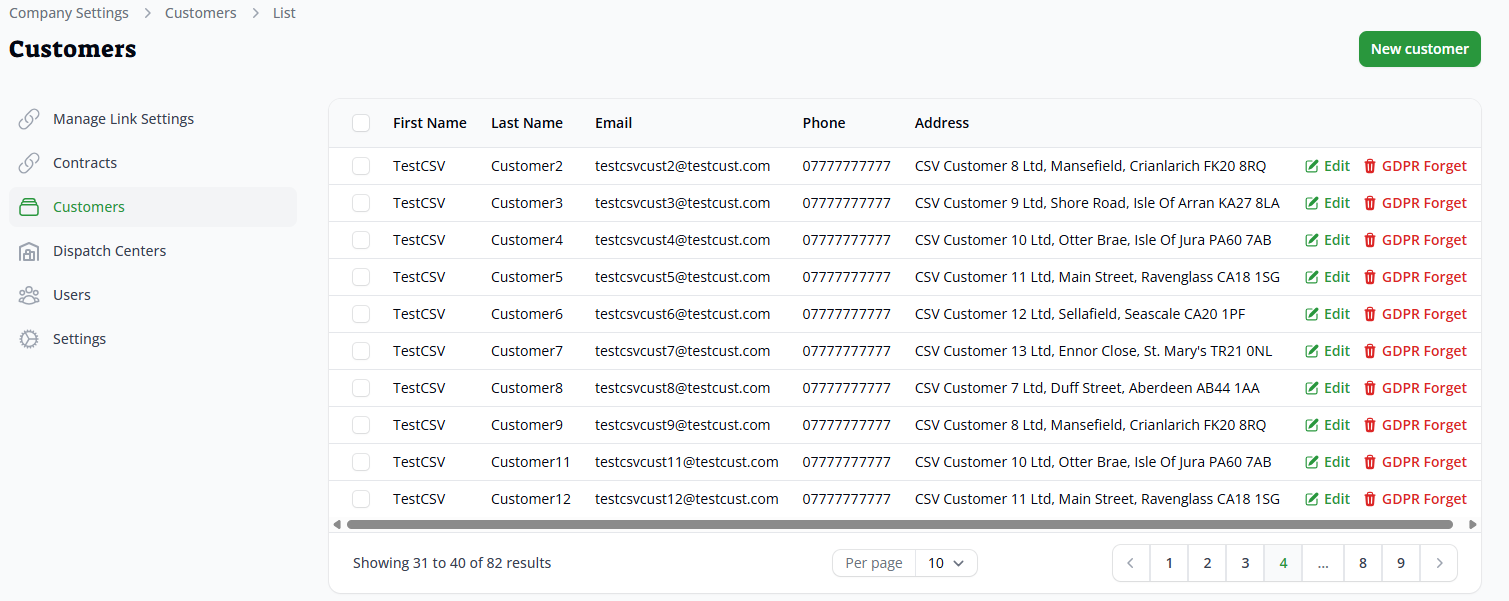
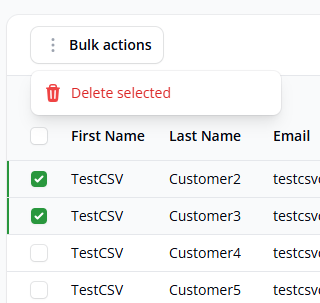
From this option, you can add, amend and delete customer details. To delete, please select the desired customer(s) and using the Bulk actions menu, choose Delete selected.
You can also use the GDPR Forget function. This will allow you to safely remove any personally identifiable data for a particular customer if they have requested their details being removed.