Configuration
Ensure the link app is running (double click the icon to start).
Adding a thermal (ZPL compatible) printer
Click on the Discover Printers option

This will show a list of all of your connected printers

Select you desired printer by clicking Add, then click OK
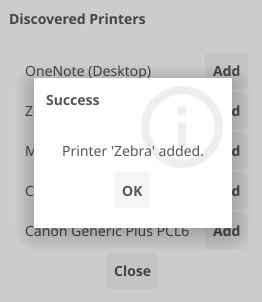
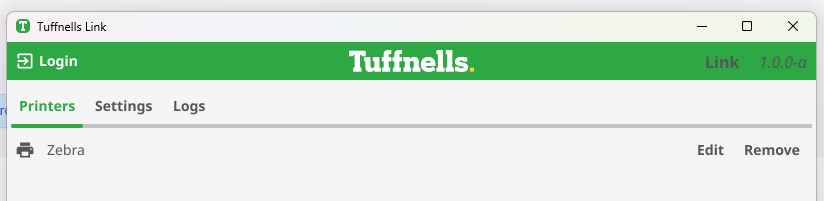
You will now see your chosen printer(s) appear at the top of the window
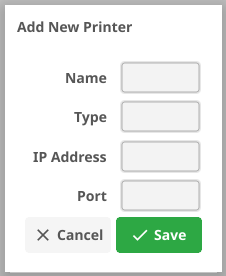
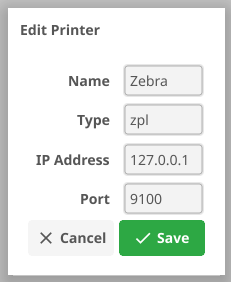
You can add the printer manually via the Add Printer option, but this requires you to know the printer name, type, IP address and port number
![]()
If you click the Edit option alongside a selected printer, you can view/amend those settings
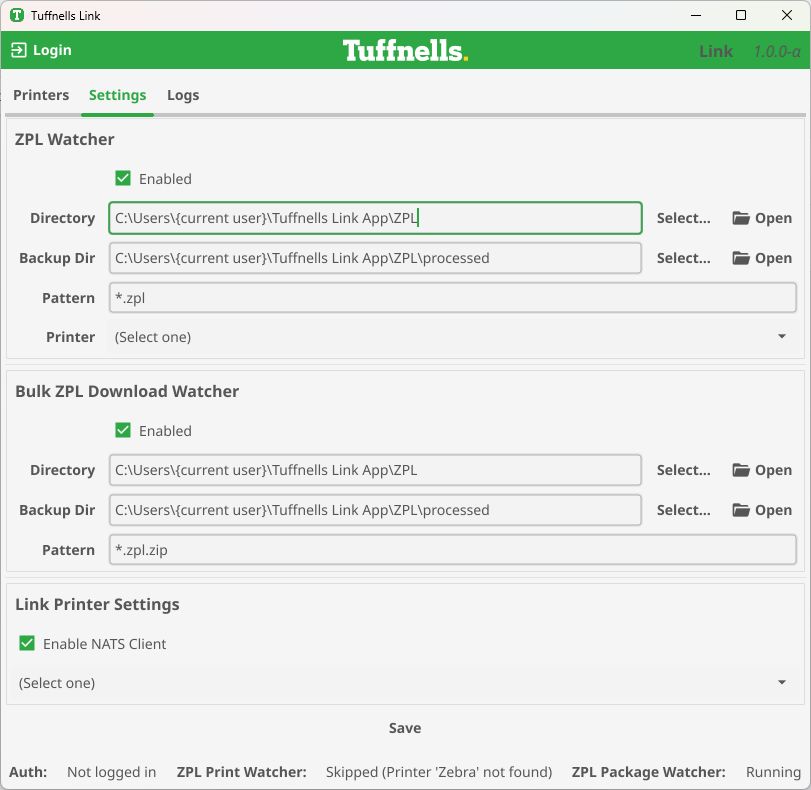
Settings Menu
These are the application default settings, but can be changed to something more appropriate if required. <current user> will be replaced by your username on your computer.
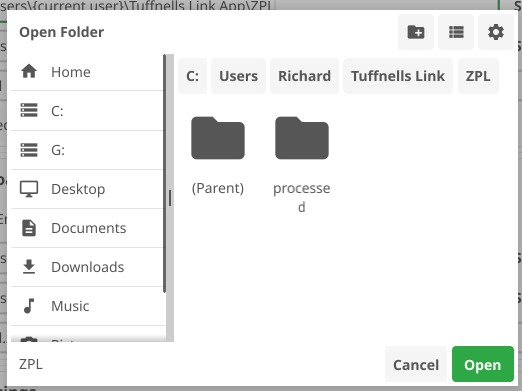
To change the paths, you can either enter them by copy/paste a known folder path or typing manually. The Open option will open a file explorer window, the Select option opens a dialog box allow you to navigate to and select the desired folder without the need for typing
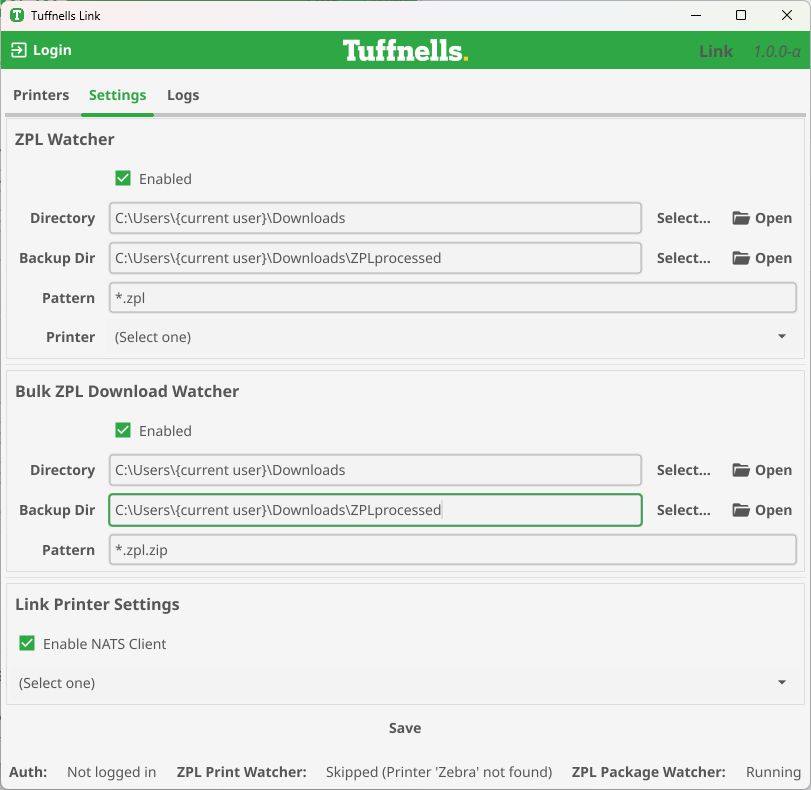
Browser default download folders are generally situated in the following location (or equivalent folder structure on a Mac)![]()
It may be easier to use these the Windows/Mac default folders if you don’t wish to either change the browser defaults or having to select a location each time you download something
The Backup Dir will store all processed label files. Ensure that both the ZPL watcher and Bulk ZPL Download Watcher settings match each other.
Leave the Pattern settings as they are (the dashboard will download individual consignment labels as .zpl files, and the bulk downloader (multi selecting of consignments) downloads as .zpl.zip files (the double extension is to prevent the attempted printer of unrelated .zip files)
Next you'll need to select a printer that you added previously. Click the Printer dropdown and choose from your selected list (if you have more than 1)
![]()

If you wish to use the automatic printing of labels, then also select the printer within the Link Printer Settings section. If you do not wish to use this functionality, then remove the tick from that option.

Once all changes to the settings have been made, click the SAVE button at the bottom.
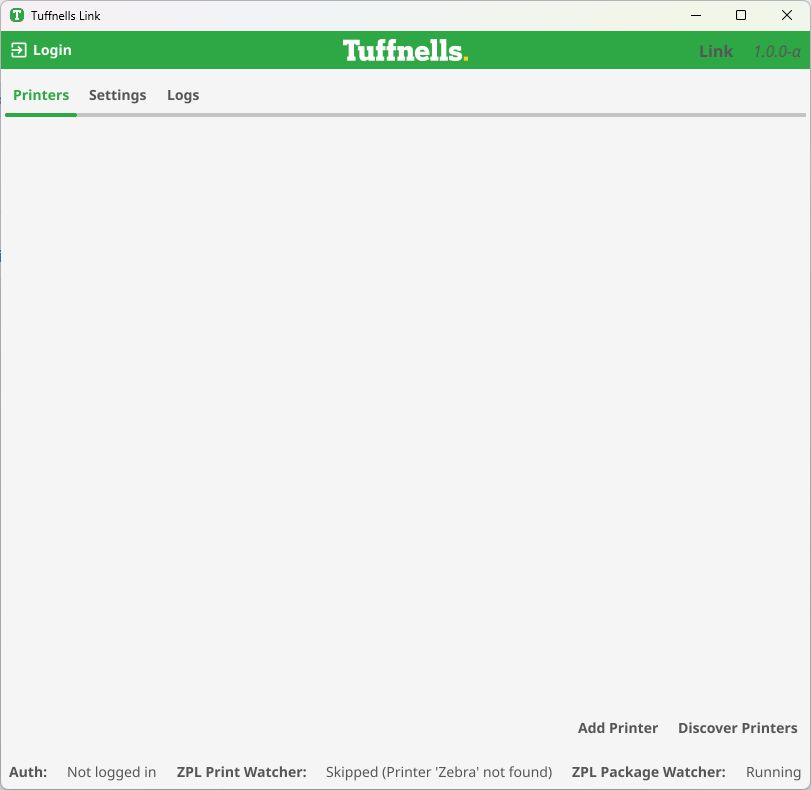
The status bar will now show the following information
![]()
Auto printing
If you wish to make use of the autoprint (Link Print) feature, then you will first need to enable this on your company dashboard.
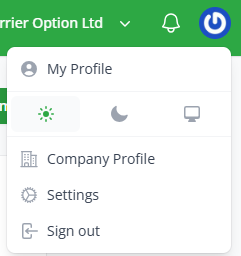
Click the icon in the top-right of the site and choose Settings
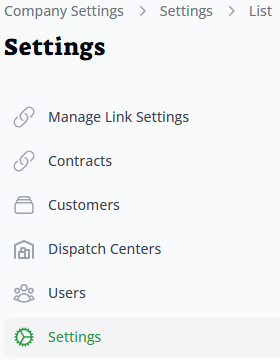
Click on Manage Link Settings

Then click the Link printing enabled toggle and click Save changes, then do the same with the Print Automatically toggle (each option needs to be changed and saved separately)

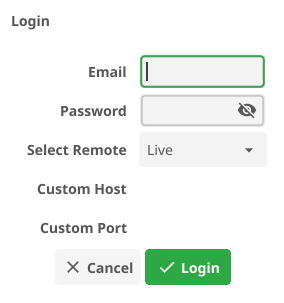
Back in the Link App click the Login button in the top left corner

Enter your dashboard email username and password (ensuring that it’s set to Live) and click Login
The status bar will now show that you’re logged in and that the NATS is conencted
![]()
To ensure the connection is fully active, click the Logout button in the top left corner, and then Login again. Your email username as password should be saved.
![]()
If you have configured the autoprinting feature, then labels will print as soon as the consignment has been created and marked as Booked. Reprinting labels can be done either by clicking the Link Print Direct option or the Download option within the consignment view page on the dashboard, or via the multi-select and Bulk Download Labels option on the consignment list page.